Navigation
|
This section explores how to navigate the Scheduler and complete common tasks necessary to use the Scheduler effectively and efficiently. This can include selecting patients and providers, changing dates or the clinic/book, and managing the columns in the Active tab. You will often need to select a patient from within the Scheduler module. Depending on your needs and workflow, you can use one of several methods to select patients from within the Scheduler. Note: Depending on the method used, this may select the patient only in the Scheduler and leave the currently selected patient for the rest of axiUm, or it may change the selected patient for all of axiUm.
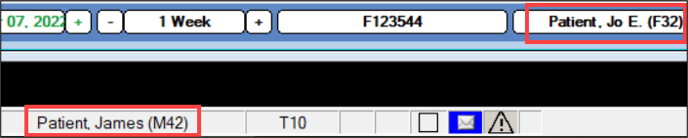
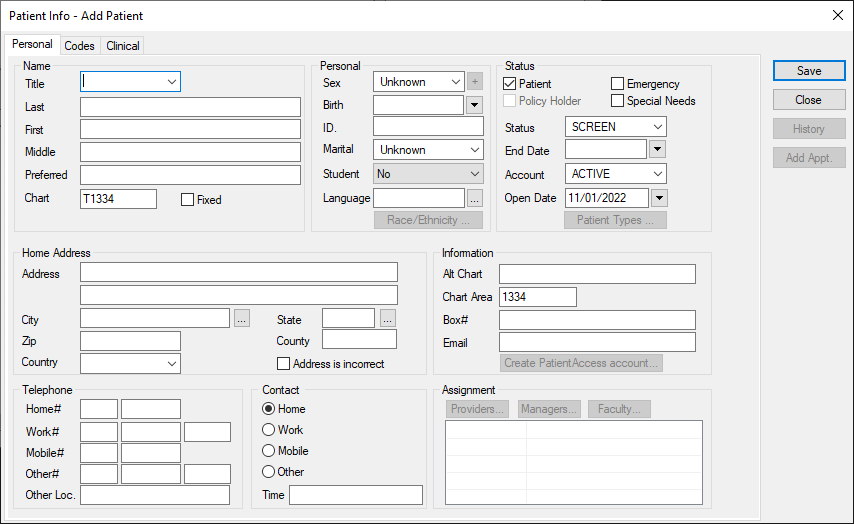
You can click an appointment to select the patient in the Scheduler. Note: This method is not typically applicable to Availability mode. You can search for and select a patient in the Scheduler. If the patient you are searching for is not present, you can also add a new patient.
In some cases, you may want to select a patient and apply that change to the rest of axiUm as well.
You may need to change providers as you review and manage appointments in the Scheduler.
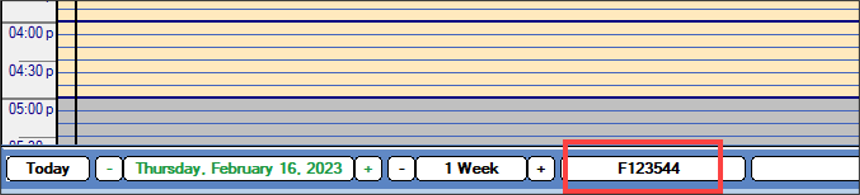
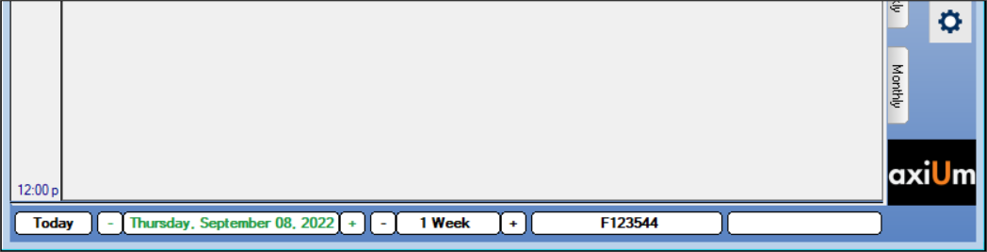
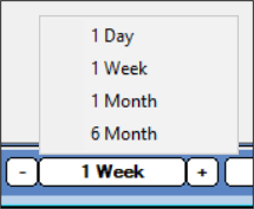
Working in the Scheduler requires you to change dates often as you review and manage provider and/or clinic schedules. You can use the navigation bar to quickly change the date you need to review. The navigation bar displays along the bottom of the Scheduler window, regardless of which tab is open.
To change dates:
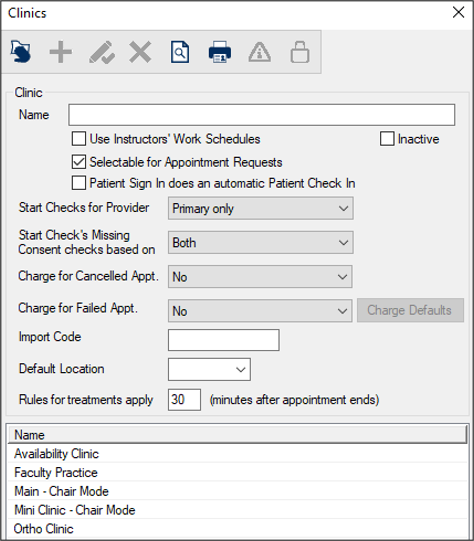
When working in the Scheduler, you may need to change which dental clinic and/or book you are viewing. Note: Books are not applicable when working in Availability mode.
Note: The (
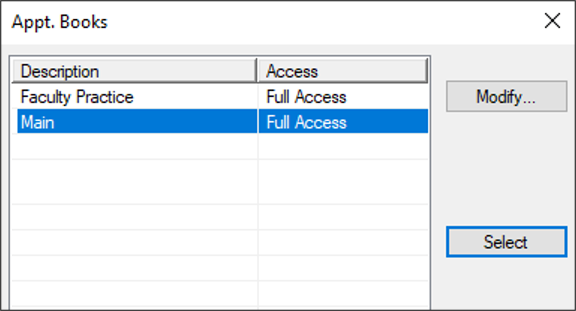
Note: Depending on your role, you may also be able to add, modify, or delete clinics. In most cases, these options will be disabled via PowerAdmin. Books are only applicable for clinics that use Book mode to schedule appointments. There are two types of books you can work with when a clinic is set to Book mode:
Example: An Emergency Clinic has three chairs, each displayed as a column and appointments are scheduled into each chair. Example: A faculty practice lists six provider codes, each displayed as a column and appointments are scheduled below them. If necessary, you can change the book to layout and view appointment information differently. To change books:
Note: The (
Note: Depending on your role, you may also be able to access the Books window from the Modify… button and add, modify, or delete books. In most cases, this button will be disabled via PowerAdmin. Important: The contents of the Active tab do not change. When necessary, you can add/remove a provider or chair column temporarily to the Active tab for the selected session only. This only applies when working in Book mode. Note: The next time you open the Scheduler, the book will display only original columns. Important: You can only modify columns when working in Book mode and if the Books window > Allow dynamic columns for providers/chairs checkbox is selected. To manage columns:
Tip: You can also click the + column to display the window. |